iOS simulator on Windows: what actually works
Aurimas Mickys — Founder, VibeViewPublished 2026-07-30Updated 2026-09-13
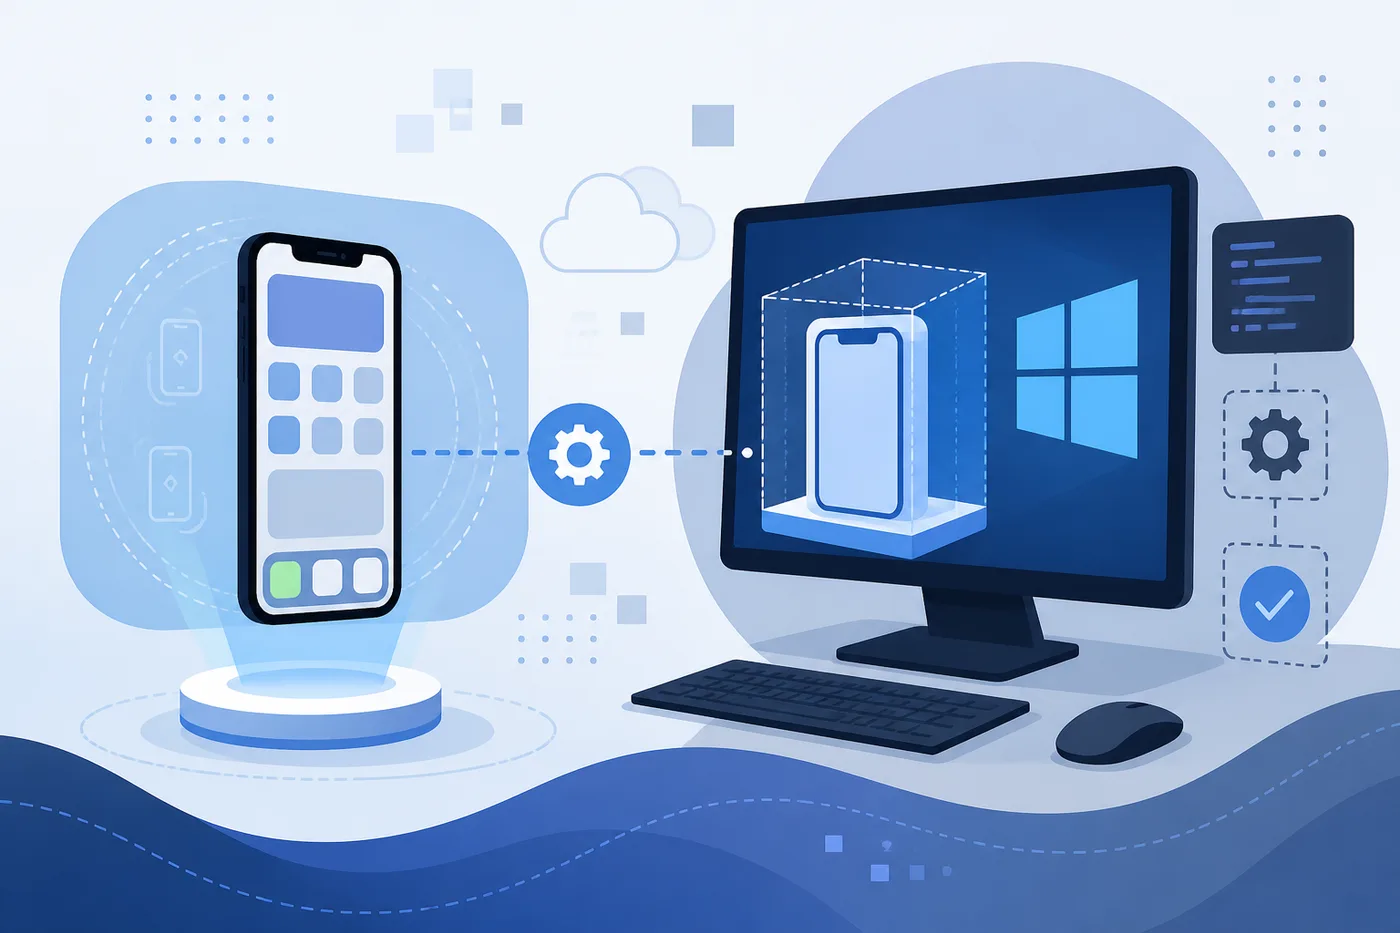
You cannot run an iOS simulator on Windows locally, because Xcode and Simulator are not distributed for Windows. Apple sells Xcode through the Mac App Store, where the listing requires macOS 26.2 or later and a Mac with Apple M1 chip or later, and Apple’s own Simulator guide describes the simulator as an app running on a Mac with access to the computer’s CPU, memory and network connection.
What you can do is put the Mac somewhere else. Four approaches work, in ascending order of how much they cost you: a hosted device streamed to your browser, a cloud build that compiles your app on someone else’s Mac, a rented Mac in the cloud, or a macOS runner in CI. The rest of this page is which one fits which problem.
Who this is for: Windows and Linux developers building or testing an iOS app, and teams whose non-Mac colleagues need to see one. Who it is not for: anyone wanting to run iPhone games on a PC — that is a different thing entirely, and none of this helps.
The short version: Apple distributes Xcode through the Mac App Store, where the listing requires macOS 26.2 or later and a Mac with Apple M1 chip or later. Simulator ships inside that toolchain as a Mac app that runs iOS builds using the Mac’s own processor and memory.
That last detail is why the usual workarounds disappoint. Apple’s Simulator guide notes that because the simulator is an app running on a Mac, it has access to the computer’s CPU, memory and network connection, and that those resources are likely to be faster than a mobile device’s. It is not emulating iPhone silicon — it is running your app natively on the host. There is nothing to port to Windows, because the thing doing the work is macOS.
So every real option for Xcode on Windows is a variation on the same move: get access to a Mac, and decide how much of your workflow lives there.
| Your job on Windows | Where the Mac lives | What you get back |
|---|---|---|
| Run and test a simulator build you already have | A hosted simulator, streamed to your browser | A working iPhone in a tab, nothing to install |
| Compile a React Native or Expo app | A cloud build service | A simulator .app — or a signed .ipa — without a Mac on your desk |
| Full Xcode: native debugging, Instruments, storyboards | A rented Mac in the cloud | The whole toolchain, over a remote desktop |
| Build and sign on every commit | A macOS runner in CI | An artifact, not a screen |
A hosted device, streamed to your browser. Someone else runs the Mac; you get the simulator in a tab. This is the cheapest and fastest to start, and the right answer when your job is to run and test a build rather than compile one. It is also the only option a non-developer can use, which matters more than teams expect.
A cloud build. Your editor stays on Windows; the compile step runs on a Mac someone else operates, and you get back a simulator .app or a signed .ipa. This is the piece that was missing until recently, and the only one that lets a solo developer with no Mac and no CI get from source to an iOS binary. It solves building, not interactive testing, so it pairs naturally with a hosted device.
A rented Mac in the cloud. A whole macOS desktop over remote access. Maximum flexibility — it is a Mac, so Xcode, the simulator and the full toolchain are all there. It is also the slowest to work in, priced per hour or per month, and you are doing iOS development on Windows only in the sense that your keyboard is on Windows.
A macOS runner in CI. The build machine is a Mac, triggered by a commit. This is the one most teams end up with regardless, because signing and store submission need macOS anyway. It solves building, not interactive testing — a CI runner gives you an artifact, not a screen to tap.
Most teams that succeed at this use two of these: CI or a cloud build produces the build, and a hosted device makes it usable by people without Macs.
Something running macOS still has to compile your app. No option above removes that; they only move it. A hosted device runs an iOS build; it does not create one. What has changed is that the Mac doing the compiling no longer has to be yours: a cloud build gives a Windows developer with no Mac and no CI a route to a simulator build, and with signing configured, to a signed device build too. Any page telling you a Windows machine compiles iOS apps locally is still selling you something.
Where the Mac sits decides how often you touch it. When a macOS CI runner or a cloud build produces the build on every commit, the Mac becomes infrastructure — nobody logs into it, and a Windows developer works against its output all day.
The second constraint is the simulator itself, and it applies wherever it runs. Apple’s Simulator guide lists audio and video input — camera and microphone — along with motion support such as the accelerometer and gyroscope, the proximity sensor, the barometer and the ambient light sensor among unsupported hardware. Apple also says Simulator is not an accurate test of performance, memory usage or networking speed. Plan a pass on a physical iPhone before you ship, on Windows or otherwise.
For the Android half of a cross-platform product, none of this applies — the Android emulator runs locally on Windows. Google recommends at least 16 GB RAM and 16 GB disk space for it. Below those specs, Google says the emulator might still run but not smoothly, and suggests you consider testing on a physical device instead.
VibeView is the first option, and since cloud builds it is the second too: it runs real iOS simulators on Macs we operate and streams them to your browser, so a Windows or Linux machine gets a working iPhone or iPad without a Mac on the desk.
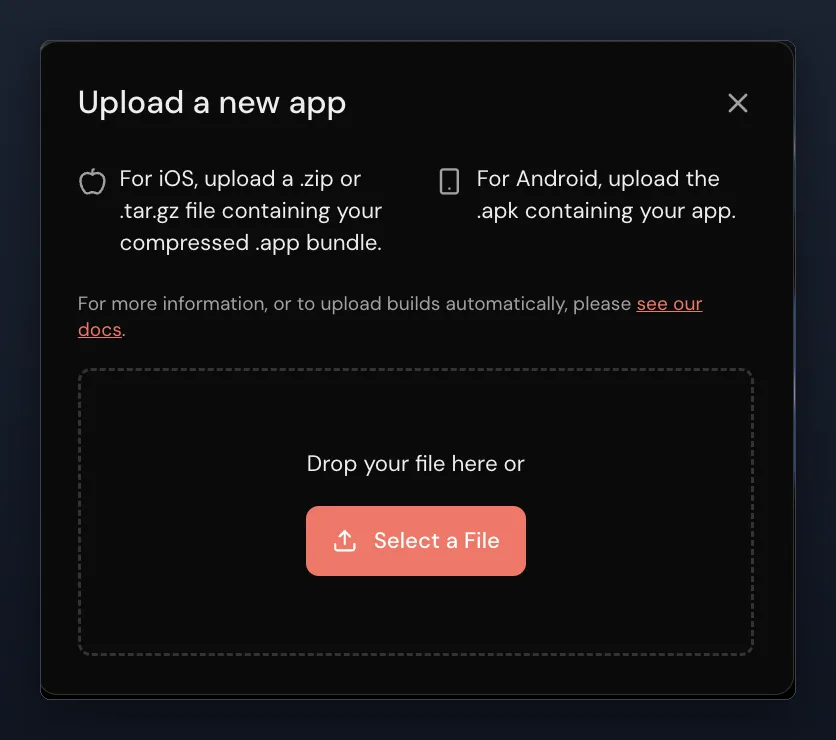
Be clear about the boundary, because it is the same one above. VibeView runs your build, and for React Native and Expo projects it can also produce one. Upload a compressed .app bundle your pipeline already makes, or run vibeview build --cloud --platform ios from Windows and the app is compiled on a managed Mac toolchain and attached to your app library — cloud builds are in beta, and every plan includes some each month. Either way, a signed device .ipa is not the artifact to bring here: simulators need a simulator build.
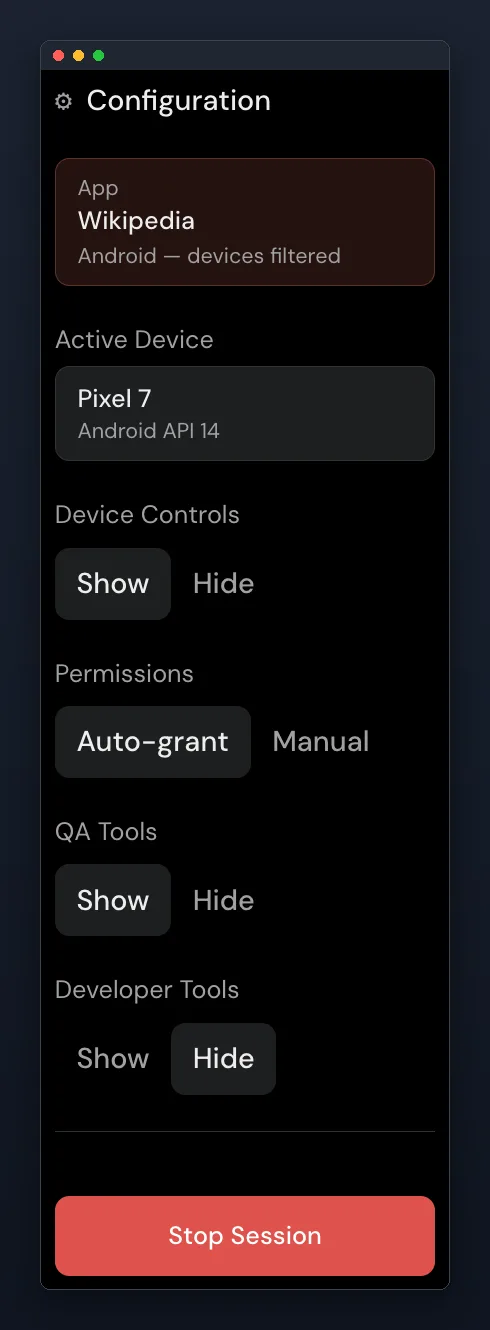
Past that point, the loop is short. You pick the device model and OS version, and for a React Native project the CLI connects a streamed simulator to the bundler running on your own machine, so a JavaScript or asset change lands on the cloud device about a second after you save — no rebuild, no re-upload. Adding or changing a native dependency is the case that needs a fresh build.
For the click-by-click version: Upload and Test an iOS Build in the Browser covers the upload path, Preview an Expo iOS build without a Mac covers the EAS and cloud-build path, and once the build works, share it as a link without TestFlight.
The simulator limits above are ours too — no camera, no Bluetooth, no true performance numbers — and a physical-device pass still belongs in your release plan.
If the missing piece is a running iPhone on a Windows desk, the free tier answers it without a card: two concurrent sessions and 30 streaming minutes a month, in sessions that end after five minutes each. Enough to put your current build on an iPhone screen this afternoon and find out whether the loop works for you.
Can you install Xcode on Windows? No. Xcode is distributed only for macOS, and Apple’s Simulator is part of that toolchain — Apple’s own Simulator guide describes it as an app running on a Mac, with access to the computer’s CPU, memory and network connection. There is no supported Windows build, and the workarounds people try are covered above with what each one actually costs.
Can I build an iOS app on Windows?
Not locally — the compiler is Xcode, and Xcode is a Mac app. You can drive a build from Windows: a macOS CI runner compiles on push, and a cloud build service such as VibeView’s compiles a React Native or Expo project from one CLI command on Windows or Linux, returning a simulator build or, with signing configured, a signed .ipa.
Do I need a Mac at all to ship an iOS app? Somewhere in your pipeline, yes — something running macOS has to compile and sign the build. That machine does not have to be yours. A macOS CI runner or a cloud build can produce the build, and VibeView’s cloud builds (beta) can also sign it and upload it to TestFlight from the CLI, so a Windows or Linux developer can get from source to App Review without ever logging into a Mac.
Is a hosted iOS simulator the same as the one in Xcode? It is the same simulator, running somewhere else. Apple’s Simulator is a Mac app, so a hosted service runs it on a Mac and streams the screen to your browser. That is why the behaviour matches, and also why the hardware limits match: Apple lists camera and microphone input, motion sensors, the proximity sensor, the barometer and the ambient light sensor as unsupported.
What can I not test without a physical iPhone? Anything depending on real hardware. Apple’s Simulator guide lists audio and video input, motion support such as the accelerometer and gyroscope, the proximity sensor, the barometer and the ambient light sensor among unsupported features, and says Simulator is not an accurate test of performance, memory usage or networking speed. Budget a device pass before release.
Can I use an Android emulator on Windows instead? For Android work, yes, and it runs locally — Google recommends at least 16 GB RAM and 16 GB disk space for the Android Emulator. But it tests Android, not iOS. If your product ships on both, the Android side is the easy half on Windows and the iOS side is the one needing one of the options above.
Published 30 July 2026 · Updated 13 September 2026 for cloud builds · Platform documentation checked 30 July 2026