Rocket.new · Flutter
Rocket.new mobile app on iPhone and Android, no Mac needed
Rokas Kašinskas — Co-founder, VibeViewPublished 2026-10-31Updated 2026-10-31
Rocket.new · Flutter
Rocket shows your app inside its editor and can share it as a web page. Neither is the native app your users install. This guide builds the native iPhone and Android versions from your Rocket code and runs them on cloud phones in your browser.
We tested it on October 31, 2026 with BuildVerse, a public, MIT-licensed app that Rocket pushed to GitHub in July 2026. We started from that repository, not from a Rocket account. So we didn’t try Rocket’s download ourselves; that step follows Rocket’s docs. Both versions built on the first try with no change to the app’s code. With the CLI’s suggested build command, the app stopped before its first screen. One flag fixed that, and then both versions moved through their first screens. We didn’t connect a backend or sign in.
Rocket “generates Flutter-based mobile apps for iOS and Android”, and “mobile-optimized Flutter apps for phones” only, not tablets (Rocket FAQ, checked October 31, 2026). Here is how you see the app while you work, and what happens after:
| You want to | In Rocket | With VibeView |
|---|---|---|
| See the app while you build | The editor preview, in a browser | The native build on a live device, in a tab |
| Try the iPhone version | Download the code and build it in Xcode on a Mac | A cloud build, then a cloud iPhone |
| Try the Android version | Download an APK and install it on a phone | The same cloud build command, then a cloud phone |
| Show it to someone | A Share as Web link to the web version | A share link that opens the native app |
Rocket makes phone apps. VibeView also runs Apple TV, Android TV and Roku apps, which TV Testing covers.
You don’t need Flutter, Xcode or Android Studio. We ran the steps on a Mac, but nothing in them uses one.
Download the code. In Rocket’s editor, open Code and click Download. Unzip the file. Next, start a terminal: Terminal on a Mac, or PowerShell on Windows. Type cd and a space, drag the unzipped folder into the window, and press Enter. Now make the folder a git repository:
git init
git add .
git commit -m "Rocket code"
If Git says “Please tell me who you are”, run these two commands with your own name and email, then run the git commit line again:
git config --global user.name "Your Name"
git config --global user.email "you@example.com"
Rocket can also push your code to GitHub instead. For a Flutter app, that push is “one-way and manual” (Rocket: GitHub, checked October 31, 2026). Changes go from Rocket to GitHub when you click Push, never back. If you use it, run git clone with your repository’s address, then cd into the folder it creates.
Fill in env.json. This file sits at the top of the folder and holds your app’s settings, such as your Supabase address and key. Rocket’s docs say the downloaded copy has “placeholder values” and tell you to “Fill in your own API keys and secrets” (Code view). Rocket keeps a mobile app’s settings in env.json, which you can open in its Code tab (Environment variables, checked October 31, 2026). Open that file in Rocket, copy its contents, and paste them over the env.json in your folder. If it still shows placeholders, your Supabase address and public key are in your Supabase project: open its Connect dialog, or go to Settings → API Keys (Supabase: API keys, checked October 31, 2026). Everything in this file ends up inside your app, so read Why the app needs env.json first. Then save your change:
git add env.json
git commit -m "App settings"
Get the vibeview command.
npm install -g vibeview
vibeview login
The first line installs the command. The second opens a page in your browser; approve the sign-in there and return to the terminal.
Build the Android version.
vibeview build --cloud --platform android --profile preview--profile preview names the kind of build: a test build for cloud devices and share links. You’ll use it for both builds. The CLI recognizes the Flutter project and asks for the build command. Its suggestion is flutter build apk --debug, which leaves env.json out. So choose Enter custom command instead. The CLI then shows a tip about install steps, with yarn and gradlew examples; a Flutter build doesn’t need one, so ignore it. Type:
flutter build apk --debug --dart-define-from-file=env.jsonPress Enter when it asks for the path to the built app; its suggestion is right. If it asks which app the builds go under, choose Create a new app from this build. The build log scrolls in the terminal while the build runs. The CLI saves your answers in a new file, vibeview.json.
Build the iPhone version after the Android one finishes:
vibeview build --cloud --platform ios --profile previewChoose Enter custom command again, and type:
flutter build ios --simulator --debug --dart-define-from-file=env.jsonAccept the suggested path. If it asks which app, choose Create a new app from this build again. This build runs on a cloud Mac.
Commit vibeview.json so the commands stay with your code:
git add vibeview.json
git commit -m "VibeView build settings"
Our Android builds took about 3 minutes and our iPhone builds about 1.5 minutes. Your first successful build for each platform adds an app under Apps in your VibeView dashboard. BuildVerse needed no Flutter version change: the code Rocket wrote in July 2026 built with the Flutter version the cloud builders use by default.
vibeview dev --standalone --platform iosThis starts a cloud iPhone with your newest build. Open the link it prints: the phone appears in your browser, and you use it with your mouse and keyboard. Use --platform android for the Android build. Ours were ready in 19 seconds (iPhone) and 9 seconds (Android).
You can also open the build in the dashboard and click Run this build. A session uses streaming minutes while it’s open. To end it, press Ctrl+C in the terminal.
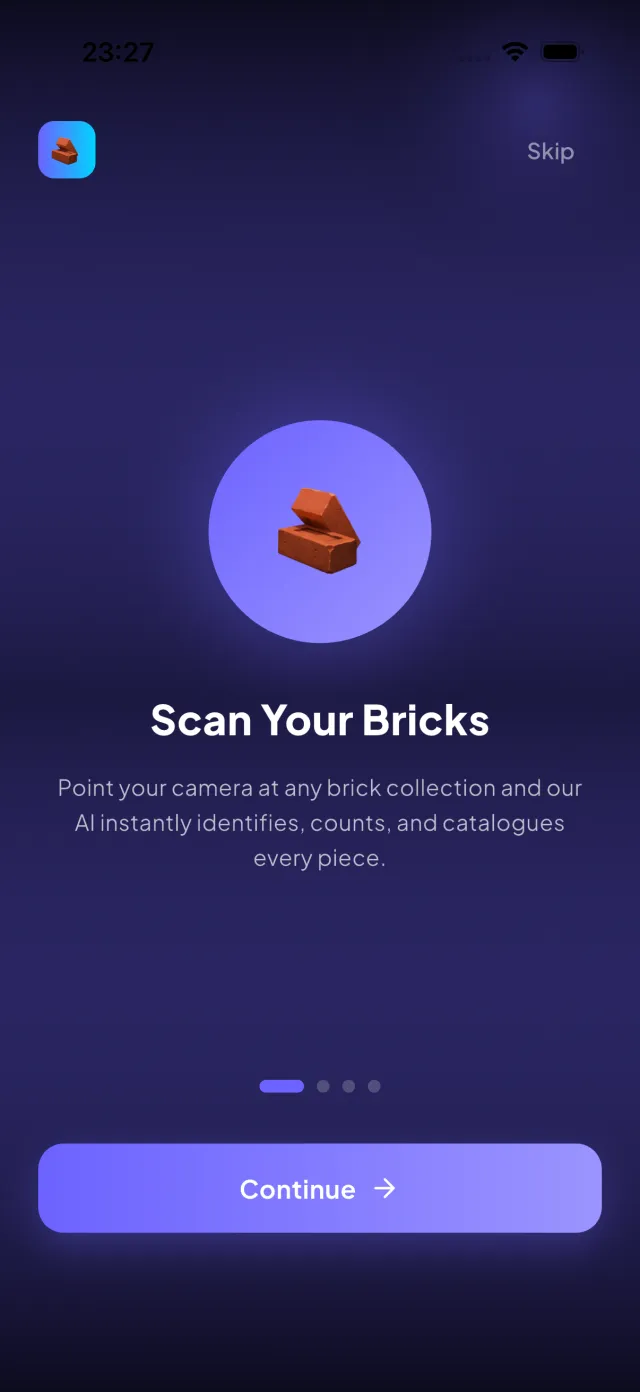
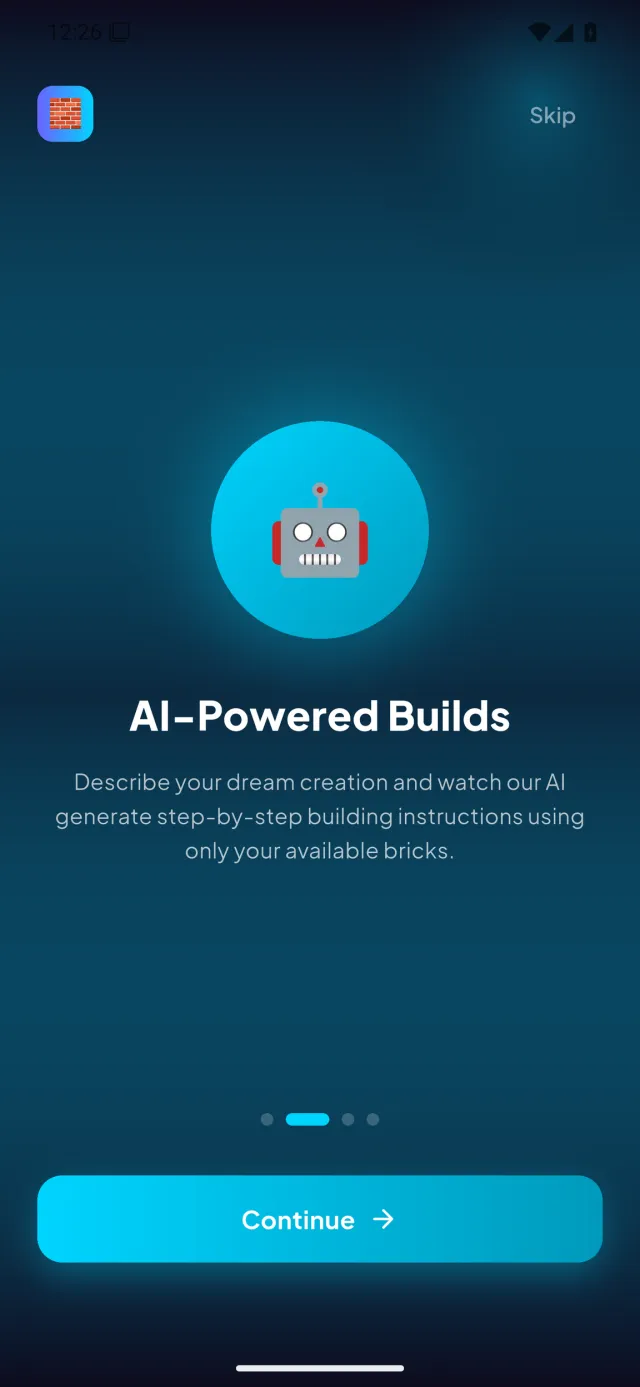
On both phones, the onboarding screens moved forward with Continue. On Android, Skip led to the sign-in screen. We stopped there. For our test we put made-up values in env.json that point nowhere, because the app’s real backend isn’t ours. With your own values, sign in on each phone and check that your data shows up.
env.jsonA Rocket phone app reads its settings when it’s built, not when it runs. The README in Rocket’s download says to start the app with flutter run --dart-define-from-file=env.json, and a cloud build needs the same flag. Without it, the app gets empty values and stops before its first screen.
Whatever you put in env.json is built into the app, so anyone with a copy can find it. Supabase’s anon key (Supabase now calls it the publishable key) is meant for this. Supabase says of it: “Safe to expose online”, because “it only reaches what Row Level Security allows” (Supabase: API keys, checked October 31, 2026). That protection only holds if your Supabase tables have those rules switched on.
Rocket’s env.json can also hold keys for AI services. BuildVerse’s had places for OpenAI, Gemini, Anthropic and Perplexity keys. Any such key you fill in ends up inside the app too, however you build it. Before you put the app in a store or hand out the app file, move those AI calls to your backend, so the keys stay off people’s phones. Keep the repository private if env.json holds your values.
Testers can use the same build, and they don’t need your computer running. In the dashboard, open Sharing and click Share an app. Pick your app, and its platform if you’re asked, then choose Send a link, click Continue, and click Save on the form that opens. Whoever opens the link uses your app in their browser, with nothing to install and no Rocket account. Their time on it counts toward your streaming minutes. Sharing your app covers expiry dates and the other options.
Rocket stays where you change the app. After each change, download the code again or, if you cloned from GitHub (step 1), click Push in Rocket and run git pull. Then run the two vibeview build --cloud … --profile preview commands from steps 4 and 5 again. A fresh download is a new folder. Make it a git repository (step 1), copy vibeview.json into it, and fill in env.json again (step 2). With vibeview.json in a GitHub repository, the VibeView GitHub App can start a build on each push.
The builds above are test builds for cloud devices. A store needs a signed release build and an app ID of your own.
com.example.flutterTemplate for iPhone and com.example.buildverse for Android. A store ID can’t change after your first upload, so set your own before you make a store build. On Android it’s applicationId in android/app/build.gradle.kts (Flutter: Build and release an Android app, checked October 31, 2026). On iPhone it’s PRODUCT_BUNDLE_IDENTIFIER in ios/Runner.xcodeproj/project.pbxproj. That’s a plain text file, so you don’t need Xcode to change it. BuildVerse’s file had the ID on three lines, plus three test-target lines ending in .RunnerTests; change them all.vibeview build --cloud --platform android --profile production. The CLI suggests flutter build appbundle --release; choose Enter custom command and add --dart-define-from-file=env.json to it. The signing block goes in android/app/build.gradle.kts; App Signing shows it.We didn’t make a store build of BuildVerse. Store Submission covers the upload.
env.json. That’s what BuildVerse showed with the CLI’s suggested command. Open vibeview.json in a text editor, add --dart-define-from-file=env.json to the end of each command line, and save. Commit it with git commit -am "Pass env.json", then build again.env.json still has placeholders, or values from someone else’s project. Copy your own from Rocket’s Code tab and build again.version solving failed. Your code was made for an older Flutter version. Which Flutter cloud builds use explains how to name one in the build command.is not a git repository. Run the three git commands from step 1.vibeview.json and used it. Change the command in that file.Yes. Download the code from Rocket, build the iPhone version in the cloud, and open it on a cloud iPhone in your browser. The build runs on a cloud Mac, so you don’t need one.
No. Both run your app as a web page. Here you run the native iPhone and Android builds, which are what your users will install.
No. BuildVerse built with no code changes. You type one extra flag into the build command, which the CLI saves in a new vibeview.json file. You also fill in env.json with your own values.
The build didn’t get your env.json settings. Add the dart-define-from-file flag shown in this guide to the build command, then build again.
Open a live iOS simulator, Android emulator, Apple TV, Android TV or Roku in your browser.
Start free