Emergent · Expo
Emergent mobile app: test it on iPhone and Android, no Mac
Rokas Kašinskas — Co-founder, VibeViewPublished 2026-10-30Updated 2026-10-30
Emergent · Expo
Expo Go and Emergent’s web preview aren’t the app your users install. This guide builds that app and opens it on a cloud iPhone and a cloud Android phone, before anything goes to a store.
We followed it on October 30, 2026 with RecordioAI, a public Emergent project anyone can copy, made with a recent version of Emergent’s template. Both versions built on cloud machines with no change to the code, and opened on cloud devices. We gave each build the address of the project owner’s own backend and checked that both builds contain it. We didn’t sign in, because that backend isn’t ours, and we haven’t published an Emergent app ourselves.
Emergent says “All mobile apps are built using React Native and the Expo framework” (Starting the process, checked October 30, 2026). While you build, you see your app in one of two main ways:
For the stores, Emergent builds your app on “Emergent’s managed Expo account”, on its paid plans (“Standard or above”) (same page), and “Builds always use the last published code” (Publishing to the stores, checked October 30, 2026). For iPhone, “no IPA is provided - Emergent uploads the build directly to your TestFlight”. For Android you get an AAB, the file Google Play takes, and an APK (Pre-publish health check).
| What you want | In Emergent | With VibeView |
|---|---|---|
| Try the app | Expo Go, or a web preview | Your own build, on a live device in the browser |
| See the iPhone build before users | Through TestFlight | On a cloud iPhone, minutes after the build |
| Show it to someone | Expo Go on their phone, or the preview’s URL | A share link that opens your build in a browser |
| Build it | On Emergent’s Expo account | Your own build in the cloud, with no Expo account |
Emergent’s template makes phone apps only. VibeView also runs Apple TV, Android TV and Roku apps; TV Testing covers them.
npm and npx commands. node --version shows yours.You don’t need a Mac, Xcode, Android Studio or an Expo account. The iPhone build runs on a cloud Mac.
frontend/: the Expo app. Everything in this guide happens here.backend/: the server your app talks to. It runs on Emergent once you publish, and your app reaches it over the internet..emergent/, memory/ and a few test files: Emergent’s own working files. The build doesn’t use them.Emergent leaves the backend’s address out of GitHub. It keeps it in a .env file, and “The .env file … is auto-excluded from GitHub pushes” (Secrets and environment variables, checked October 30, 2026). The CLI asks you for it in step 4.
Publish your app in Emergent and copy its address. When publishing finishes, Emergent gives you your app’s permanent address, like https://your-app-name.emergent.host, or your own domain if you set one up (Put your app live, checked October 30, 2026). Copy it. Don’t use an address with preview.emergentagent.com in it: that’s the preview’s backend, with its own database, not the published one your users’ data is in.
Copy the project to your computer. In Emergent, choose Save → Save to GitHub. On your repository’s GitHub page, click Code and copy the address shown. Then open a terminal (Terminal on a Mac, PowerShell on Windows). The first time, run gh auth login, accept the suggested answers (GitHub.com, HTTPS, Yes to authenticating Git, and signing in with a web browser), and approve the sign-in in your browser. GitHub doesn’t accept your password in the terminal, so Git uses this sign-in to copy and save your project. Then run these two lines, with your repository’s address and name:
git clone <your repository address>
cd <your repository name>/frontend
Run every command from here on in this frontend folder. From the folder above it, the CLI won’t find your app.
Install the VibeView command and sign in.
npm install -g vibeview
vibeview login
The first line installs the vibeview command, or updates it if you have it. You need version 0.70.6 or newer: vibeview --version shows yours. vibeview login opens a sign-in page in your browser. Approve it and come back to the terminal.
Build the Android version.
vibeview build --cloud --platform android --profile preview--profile preview picks the kind of build: a test build with the whole app inside, so it runs on a cloud device without your computer. Store builds are a different kind. The first time, the CLI asks you a few questions. They only appear in a terminal, so start this first build yourself, not from a script or an AI assistant:
EXPO_PUBLIC_BACKEND_URL, your backend’s address. The CLI explains that your app reads it but nothing in the build sets it. Paste the address from step 1, with no / at the end, and press Enter. Expo builds this kind of value into the app, so anyone with the app can read it. That’s fine for an address, but never enter a password or key there.EXPO_PUBLIC_ names, if your app uses more. Their values are in the frontend/.env file you can see in Emergent’s code view. Press Enter to skip one you don’t need.It may also warn that the upload has no lockfile. You can ignore that for now; Optional: lock the package versions explains it.
Then the build starts on a cloud machine, and your terminal shows its progress. It takes about 10 minutes. The CLI saves your answers in a new file in frontend, vibeview.json.
Build the iPhone version once the Android build has finished:
vibeview build --cloud --platform ios --profile previewIt asks the same questions for the iPhone. For EXPO_PUBLIC_BACKEND_URL it offers the address you gave for Android, so just press Enter. It builds on a cloud Mac in about 8 to 10 minutes.
Save the setup to GitHub.
git add vibeview.json
git commit -m "Build with VibeView"
git push
This puts vibeview.json on GitHub next to your app, so it’s there next time. If Git asks who you are, it shows the two commands to tell it; run them and commit again.
When a build succeeds, its app appears under Apps in your VibeView dashboard, with its name and icon: one for Android and one for iPhone. Cloud Builds has the details for Expo projects.
The easiest way is the dashboard. Open the app under Apps, then its newest build, and click Run this build, or choose the app on Devices. The phone opens in a browser tab, where your mouse taps and your keyboard types. Ours were ready in 8 to 24 seconds. A session uses streaming minutes while it runs, and one nobody uses ends on its own.
From the terminal, this opens the newest build on a cloud iPhone (use --platform android for the Android one):
vibeview dev --standalone --platform iosIt prints a Watch and interact link; open it to see and use the phone. --standalone runs the build as it is, with nothing connected to your computer. To end the session, press Ctrl+C in the terminal. The first time you open each platform, the command adds settings to vibeview.json; commit and push those changes too.
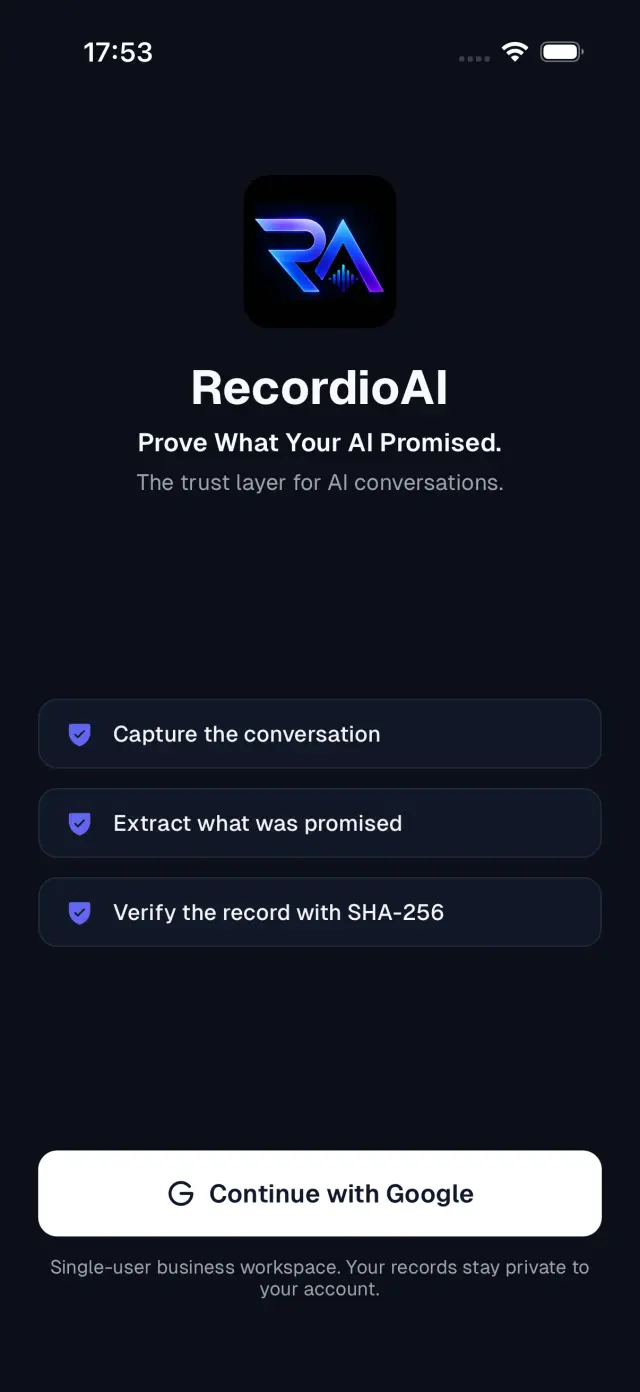
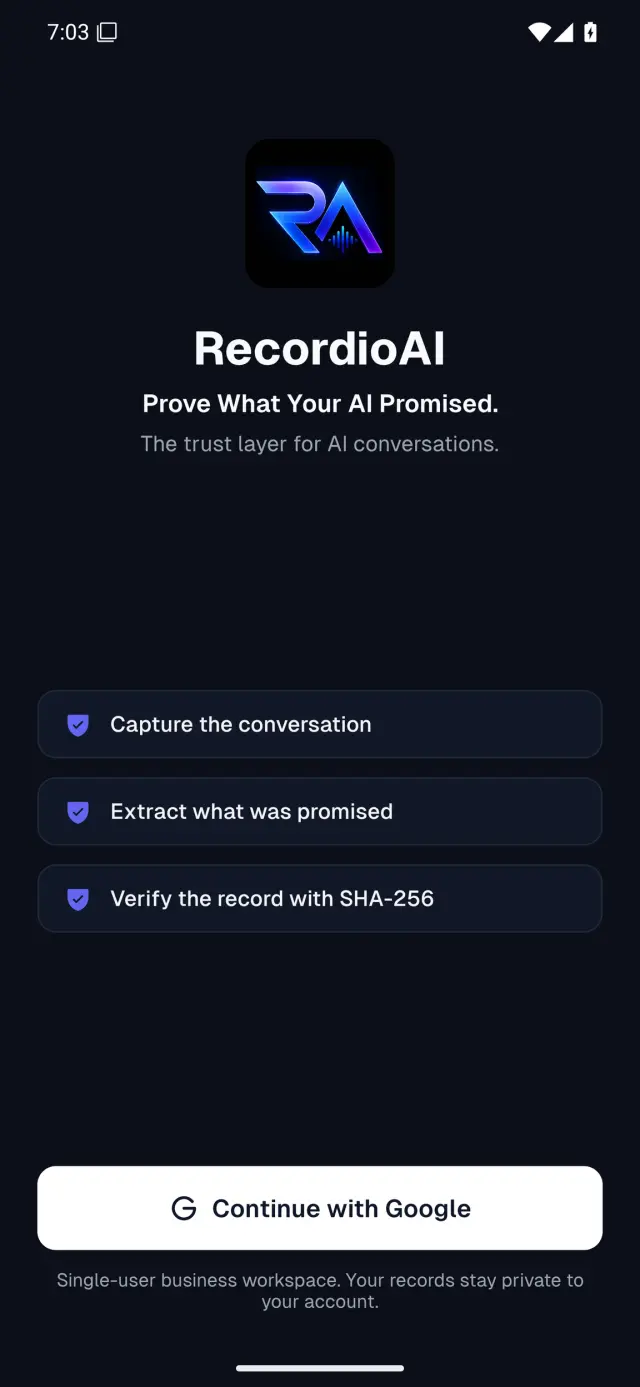
RecordioAI opens on its sign-in screen. Emergent’s built-in sign-in “runs on the hosted auth.emergentagent.com page” (Emergent Auth, checked October 30, 2026). On the cloud iPhone, Continue with Google opened that page in iOS’s sign-in window, which then showed Google’s “Sign in to continue to emergentagent.com”. We stopped there, so we haven’t seen a sign-in finish and return to the app. With your own app and account, sign in once on each phone, and check that the app shows the same data as your published app.
Your build doesn’t need your computer, so other people can open it too. In the dashboard, go to Sharing, choose Share an app, select your app, then Send a link and Continue. Whoever gets the link uses your app in their browser, with no install, no Expo Go and no Emergent account. Their time uses your streaming minutes. Sharing your app has the options.
Your app uses many packages, and a lockfile lists their exact versions. Emergent’s GitHub copy has none, so each build installs the newest versions your app allows. That worked for us, but a package update could one day change a build you didn’t touch. To pin the versions, run this once in frontend:
npx yarn@1.22.22 install --ignore-scriptsIt writes a yarn.lock file. Then open vibeview.json in a text editor. Each command line starts with yarn install &&. Change each one to start with yarn install --frozen-lockfile &&, so builds install exactly the versions in yarn.lock. Commit and push both files:
git add yarn.lock vibeview.json
git commit -m "Lock package versions"
git push
We built RecordioAI with a yarn.lock and that install, and it worked on both phones. Use the command above, not npm install: npm can pick packages from a newer Expo version than your app’s, which breaks the build (see When a build fails).
Emergent sends your project one way, from Emergent to GitHub: “Importing a repo is only possible when starting a new job. There is no pull or in-platform merge available mid-project” (A tour of the workspace, checked October 30, 2026). So keep making changes in Emergent. After each change, publish, save to GitHub, then in frontend run git pull and build again.
We haven’t tested whether Save to GitHub keeps files Emergent didn’t make, such as vibeview.json and yarn.lock. After your next save, check they’re still on GitHub. If they’re gone, run steps 4 to 6 again. When a build fails says which app to pick.
With vibeview.json on GitHub, the VibeView GitHub App can start a build each time Emergent saves to GitHub. In its settings, set the project’s folder to frontend, or click Detect from vibeview.json. Each build uses build minutes.
Emergent’s own Publish flow already uploads your iPhone app to TestFlight and gives you an AAB for Google Play. If that’s all you need, use it, and use VibeView to try the same code on a live device first. Publish and save to GitHub together, so both builds use the same code.
To make store builds yourself, you need a production build with signing set up. That’s more technical than the rest of this guide; Build an Expo app without EAS walks through it, and App Signing and Store Submission cover signing and uploads. We didn’t make a store build of RecordioAI.
Your app’s ID in the stores is ios.bundleIdentifier and android.package in frontend/app.json. Emergent fills them in “in the format com.emergent.<words>.<suffix>” (Package name, bundle ID and app ID, checked October 30, 2026). Neither store lets you change the ID once your app is listed, so pick it before your first upload. If you already published through Emergent, keep its ID. On Google Play, an update must also be signed with the same upload key as before, and Emergent holds that key. Before your first upload, ask Emergent’s support (support@emergent.sh) about it, or request an upload key reset in Play Console.
Unable to resolve module expo/internal/bundle-origin (iPhone), or Field 'version' is required … Publication (Android). The build installed packages with npm install, which picked a package from a newer Expo version. CLI versions before 0.70.5 suggested that. Update with npm install -g vibeview, delete vibeview.json, and run step 4 again so the CLI suggests new commands.frontend. Run it from frontend.CODE_SIGNING_ALLOWED=NO. It was saved by an older CLI, and an iPhone build made with it can’t keep a sign-in. Delete vibeview.json and run step 4 again.vibeview.json, run step 4 again, and paste your published address.After you delete vibeview.json, the CLI asks which app the builds go under. Pick the app you made the first time; it’s listed first. Then do steps 5 and 6 again.
Yes. Emergent builds iPhone apps on its own Expo account, on its paid plans, and uploads them to your TestFlight. To try the iPhone build before TestFlight, or to build it without Emergent’s account, build it yourself with VibeView as this guide does.
No. RecordioAI built with no code changes. The CLI asks for your published address and the build
commands, and saves them in vibeview.json.
It should. Your backend and database keep running on Emergent, and your build talks to the same published address as the app Emergent builds. We haven’t published an Emergent app ourselves to check this.
Yes. The iPhone build runs on a cloud Mac, and you use the result in a browser. We ran the steps on a Mac, but none of them needs one.
Open a live iOS simulator, Android emulator, Apple TV, Android TV or Roku in your browser.
Start free